5.6 Student Test Experience
Overview
Once a practice test has been assigned, the experience shifts to the student's side. This article walks through the complete journey a student takes from receiving their first notification, to logging in, to sitting through the test, to viewing their results.
EdisonOS is built so that every practice test replicates the experience of the real official exam. SAT practice tests mirror the College Board's Bluebook application the official digital SAT platform in both interface design and test-taking tools. Similarly, ACT and other program tests replicate the look, feel, and flow of their respective official digital exams. Students who practice on EdisonOS arrive on test day already familiar with the interface, which removes one layer of stress from the experience.
Step 1 - The Enrollment & Assignment Email
When a student is first added to an academy on EdisonOS, they receive a welcome email from no-reply@edisonos.com with the subject line "You've been enrolled in EdisonOS academy."
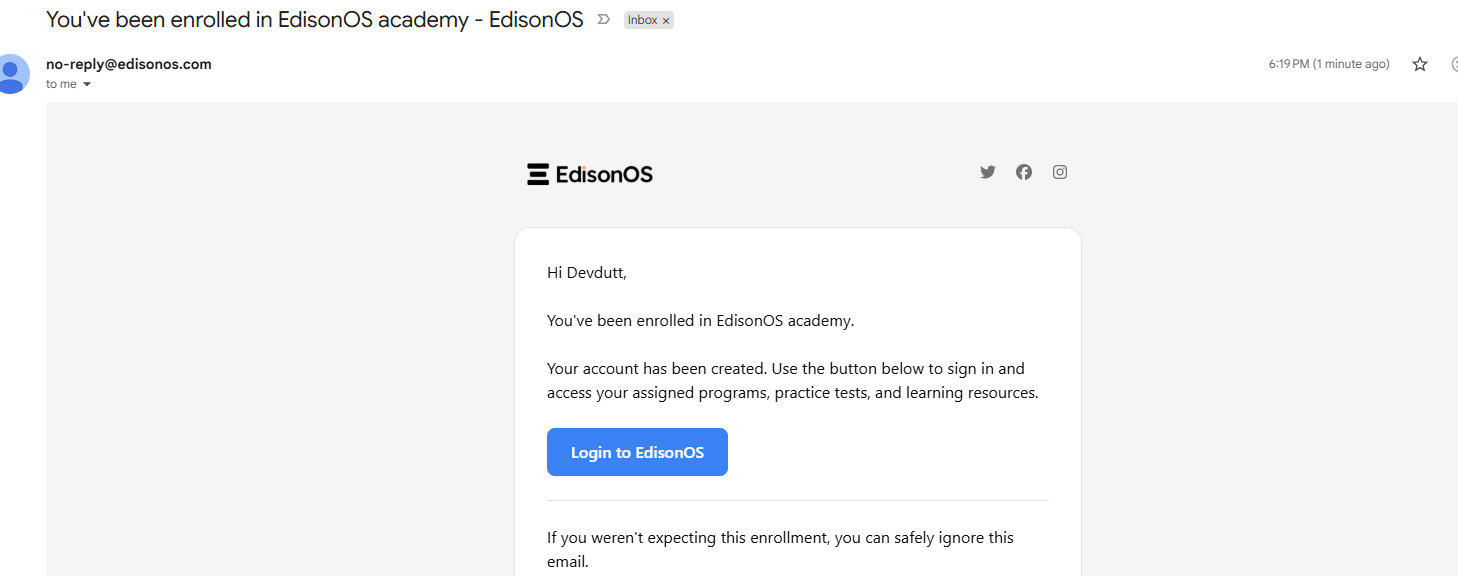
The email greets the student by name and informs them that their account has been created. It includes a prominent Login to EdisonOS button that takes them directly to the login page. The email also includes a reassurance note: "If you weren't expecting this enrollment, you can safely ignore this email."
If they're already logged into EdisonOS, any newly assigned practice test will appear in their portal immediately upon assignment.
Step 2 - Logging Into EdisonOS
Clicking Login to EdisonOS from the email (or navigating directly to the platform) takes the student to the EdisonOS login screen.
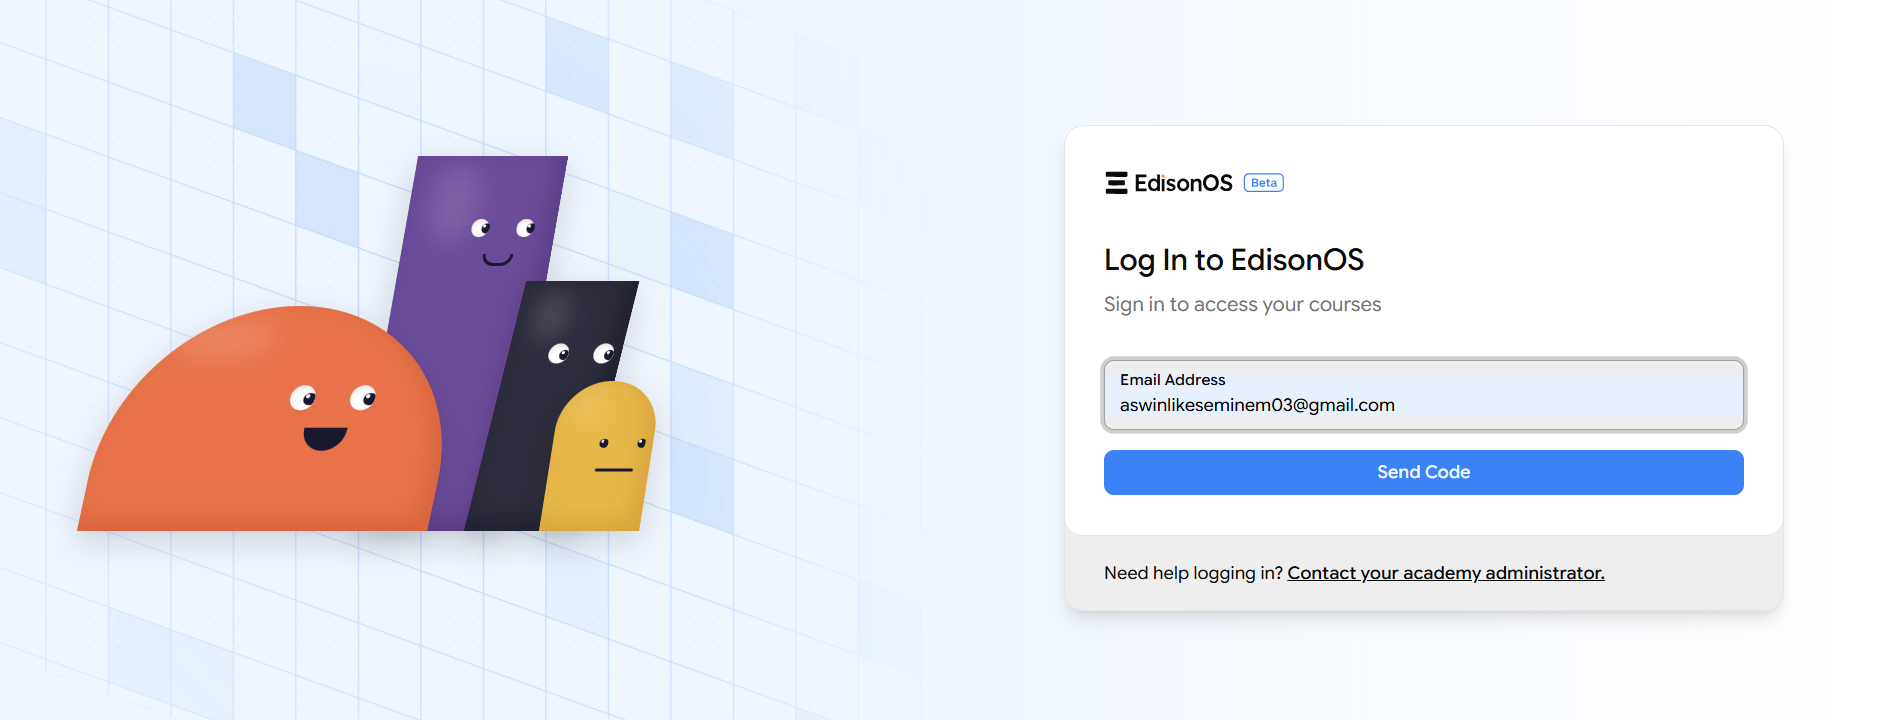
EdisonOS uses a passwordless, OTP-based login system. The student simply enters their email address and clicks Send Code. No password is required. As this keeps access simple and removes a common point of friction for students.
A verification email is immediately sent to the student with a 6-digit one-time passcode (OTP). The code expires in 10 minutes, so students should enter it promptly. Once entered on the login screen, they are taken directly into their student portal.

If you do not receive the OTP, click Resend OTP to generate a new OTP instead of contacting the administrator.
Step 3 - Finding and Starting the Practice Test
Once logged in, the student lands on their student portal. From the left sidebar, they can navigate to Practice Tests under their enrolled program (e.g., SAT).

The Practice Tests page has three tabs at the top:
Assigned - Tests that have been sent to the student but not yet started. The count badge shows how many are pending.
In Progress - Tests the student has started but not yet submitted (relevant when Allow Resume is enabled).
Completed - Tests the student has fully submitted.
The assigned test (SAT001) appears as a card showing the test name and total duration (2 hr 14 min). A prominent Start Practice Test button invites the student to begin.
Before clicking Start, make sure you're in a quiet space, your device is charged, and you have a stable internet connection. Treat this just like the real exam, the more seriously you approach practice, the more it will pay off on test day.
Step 4 - System Check & Test Details
Clicking Start Practice Test triggers the same pre-test readiness screen that tutors see during preview. On the left, a real-time system and network check runs automatically. On the right, a detailed test summary is shown.
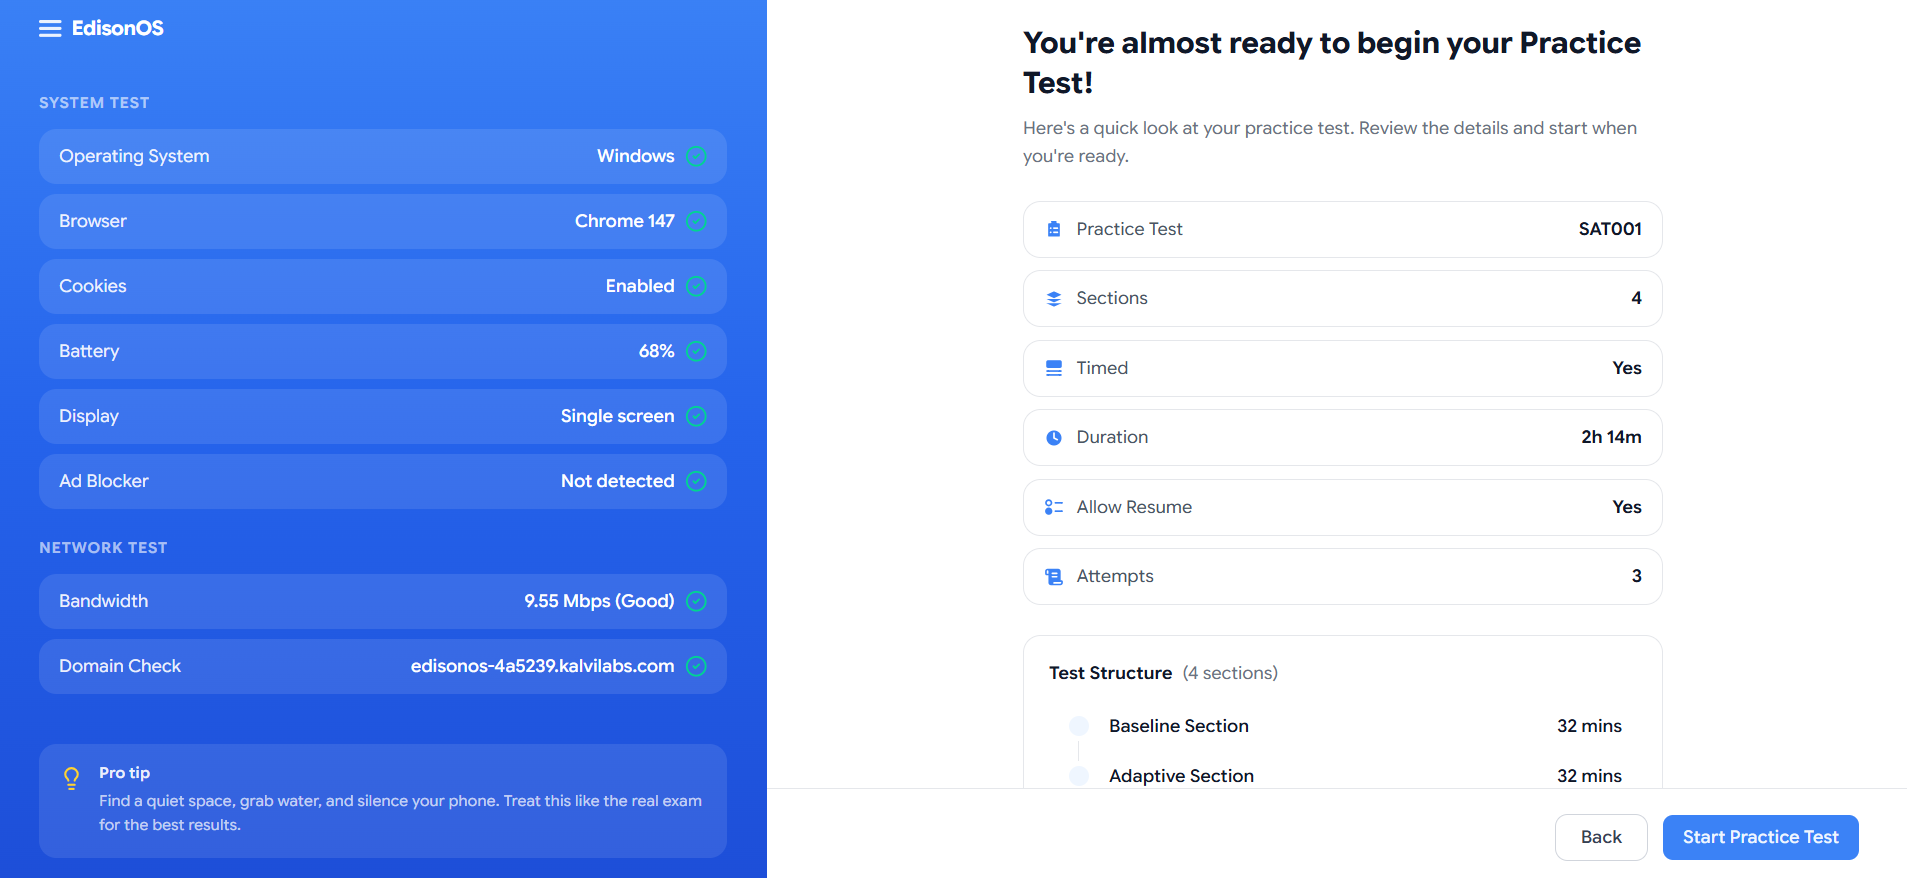
The system check confirms: Operating System, Browser compatibility, Cookies, Battery level, Display setup, and Ad Blocker status. The Network Test verifies Bandwidth and Domain accessibility.
The test details panel on the right shows a complete snapshot of what the student is about to take:
Field | Value |
|---|---|
Practice Test | SAT001 |
Sections | 4 |
Timed | Yes |
Duration | 2h 14m |
Allow Resume | Yes |
Attempts | 3 |
The Test Structure below lists each section in order with its allotted time (e.g., Baseline Section – 32 mins, Adaptive Section – 32 mins, etc.), so students know exactly what's ahead before committing.
When the student is verified, they click Start Practice Test to begin.
You will not be able to start the test if any of the following conditions are detected:
Battery level is below 20%.
Multiple displays or screen extension mode is enabled.
Internet bandwidth is too low to support the test.
Please ensure your device meets these requirements before attempting to start the test.
Step 5 - Taking the Test
The student test interface is purpose-built to match the official digital SAT experience. The layout, tools, and flow are all designed to be immediately familiar to any student who has seen the Bluebook app.
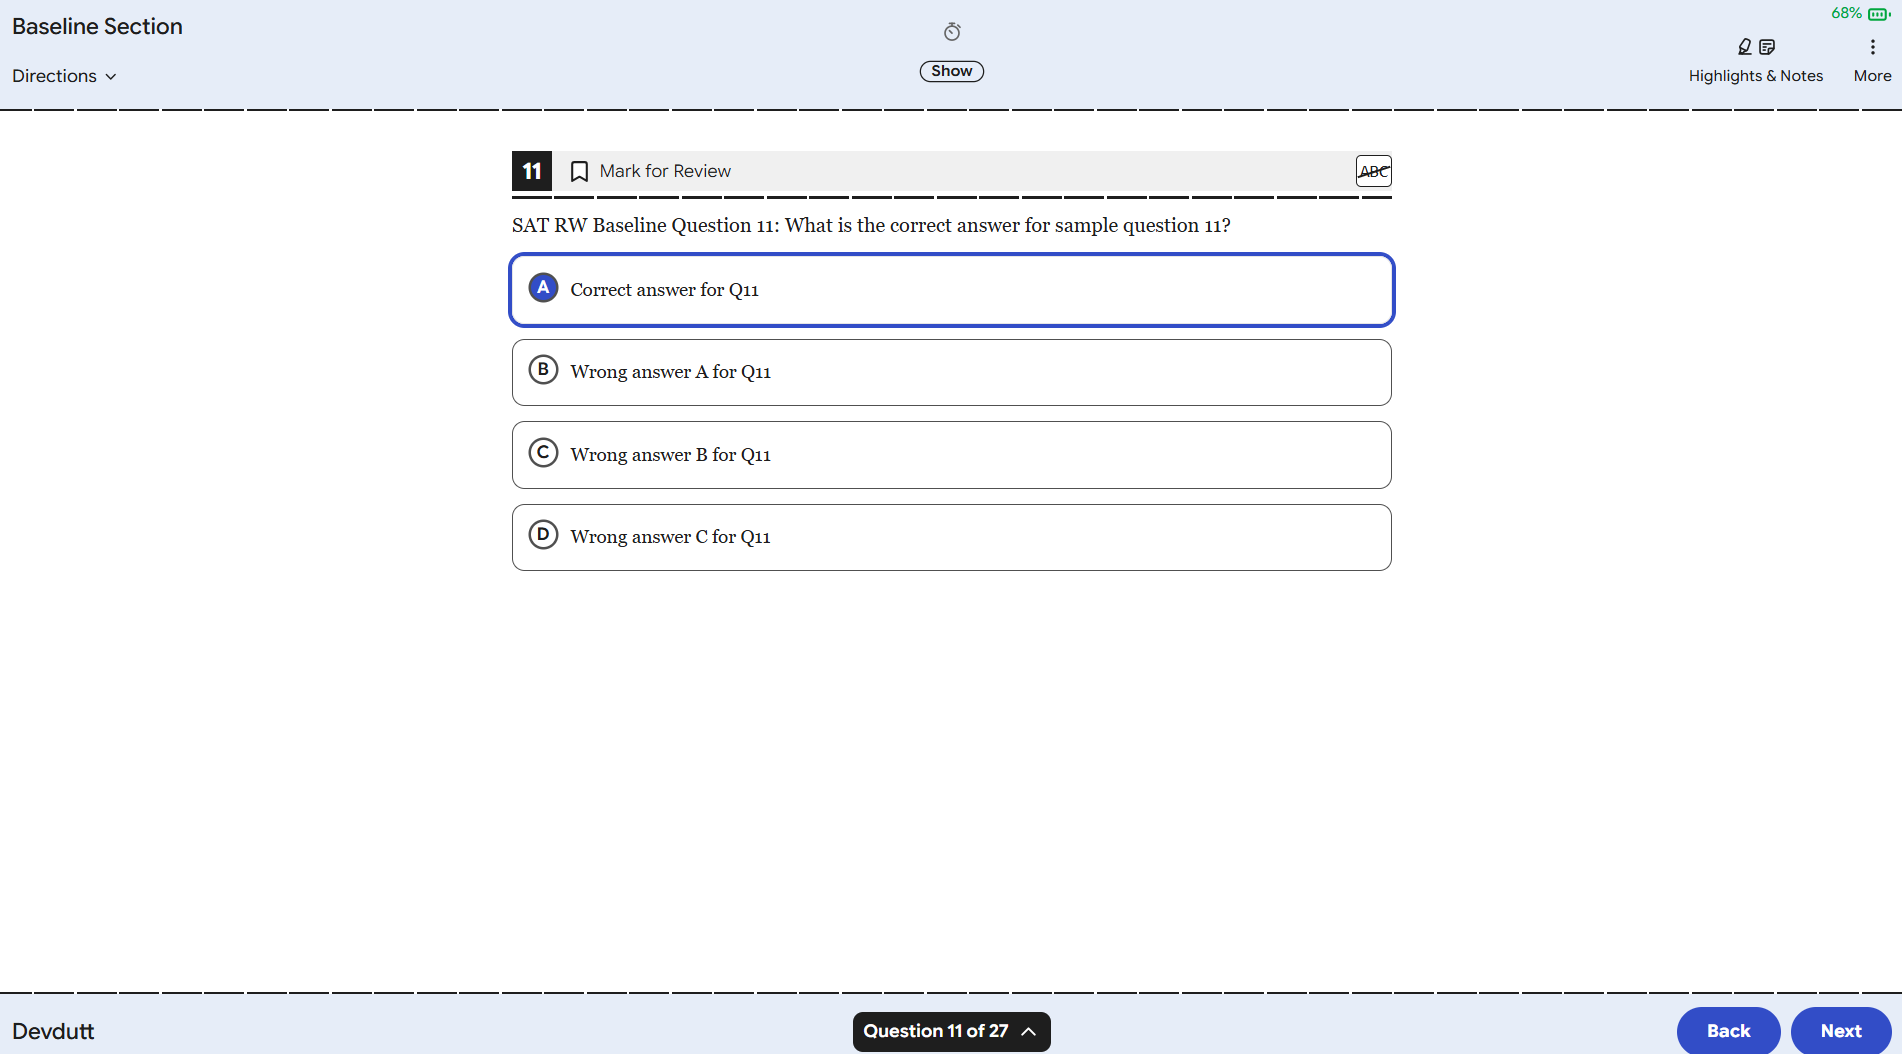
Each question is displayed on a clean, focused screen. The key interface elements the student interacts with are:
Timer The countdown timer sits at the top-center of every question screen. Students can click Hide to conceal the timer if watching it creates anxiety, this is a deliberate feature designed to help students focus on the content rather than the clock. They can click Show at any time to bring it back. This mirrors the same hide/show timer functionality available in the official Bluebook app.
Student Name The student's name (e.g., Devdutt) is shown in the bottom-left corner of every screen throughout the test session. This personalises the experience and confirms the correct student is logged in.
Selected Answer State When a student selects an answer, the chosen option is highlighted with a filled blue circle and the option row is bordered in blue, providing a clear, unambiguous visual confirmation of their selection.
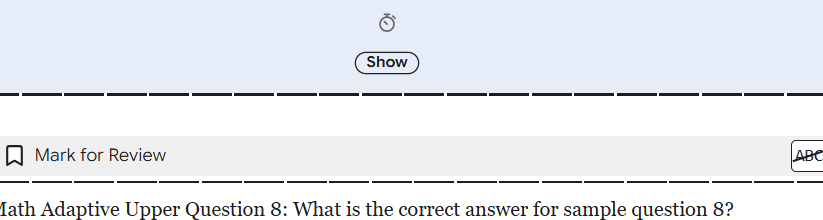
Mark for Review, Answer Eliminator, Highlights & Notes, and Question Navigator are all available exactly as described in the Preview & Validation article, giving students the same tools that tutors validated during the preview session.
The Check Your Work Screen
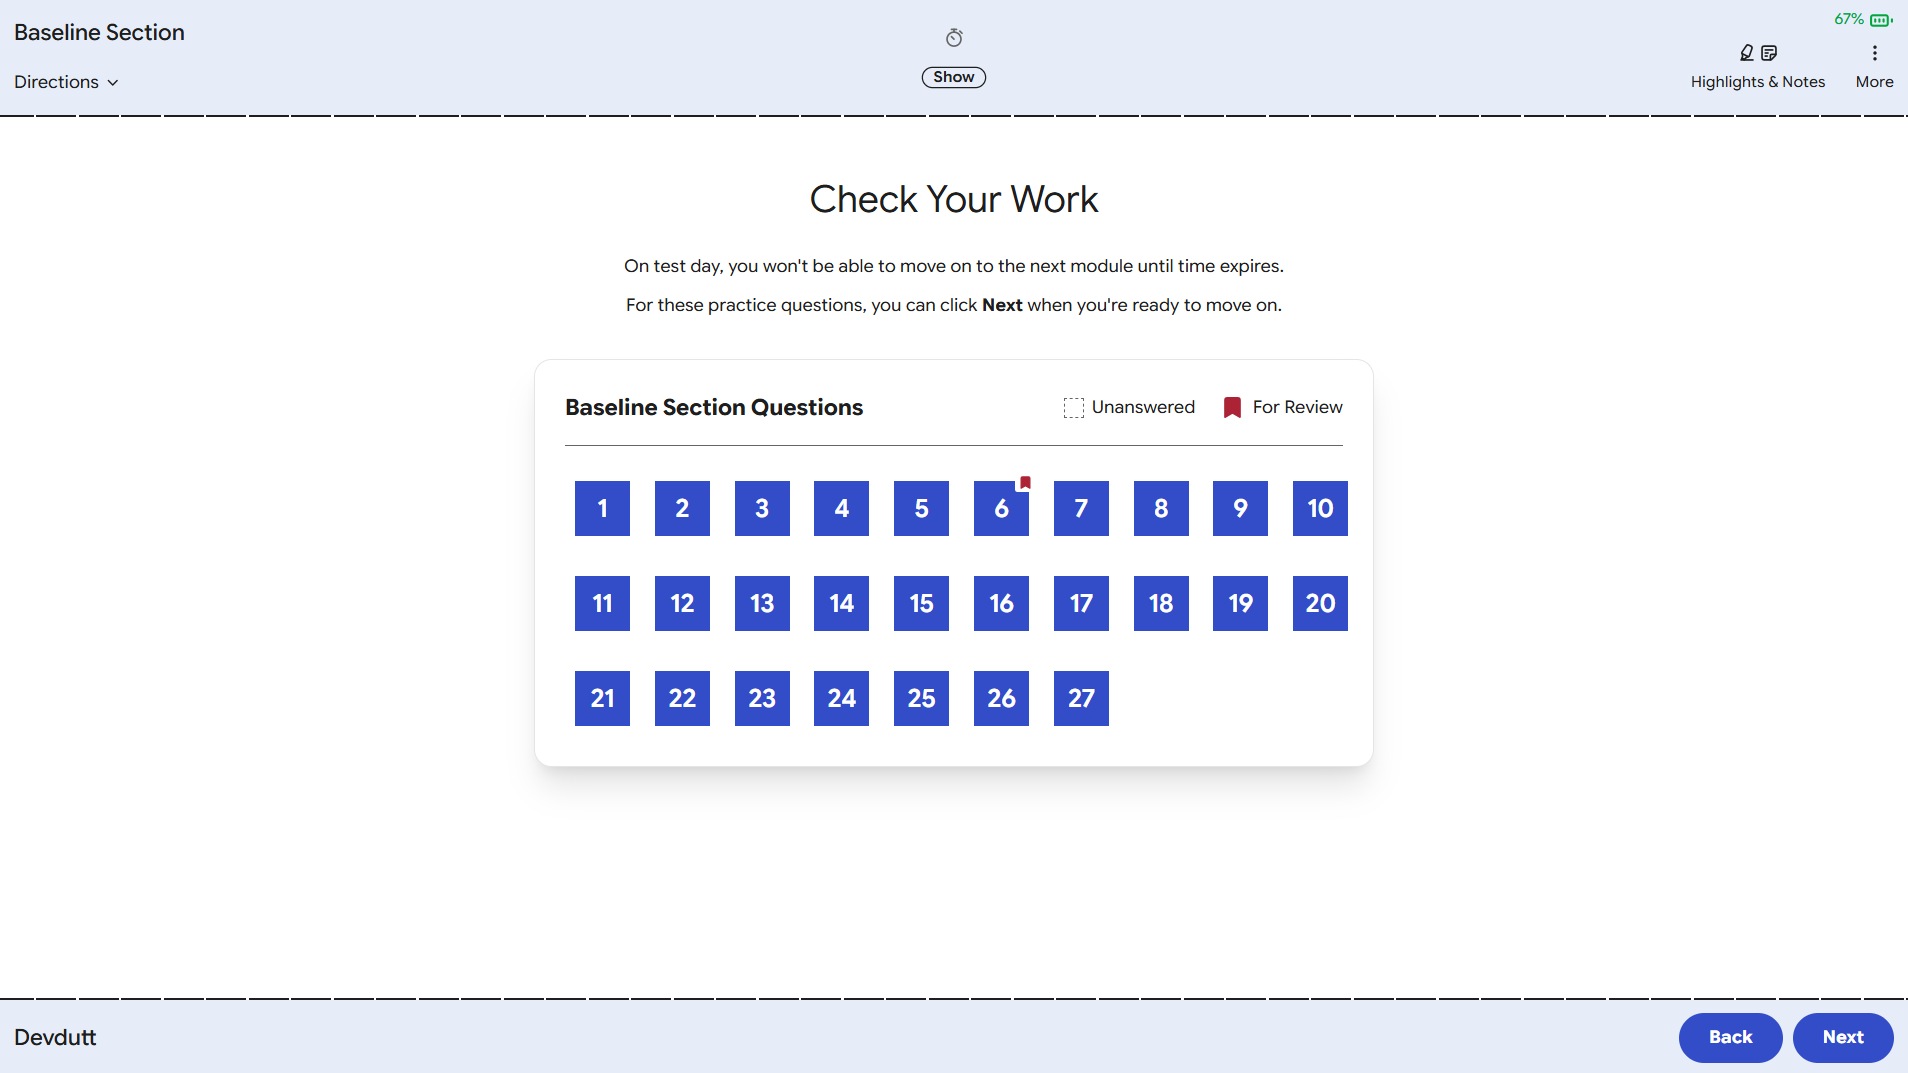
After the student moves through all questions in a section, they reach the Check Your Work screen. All answered questions appear as solid blue tiles. Any question flagged for review shows a small red bookmark icon on its tile.
The screen reminds students: "On test day, you won't be able to move on to the next module until time expires. For these practice questions, you can click Next when you're ready to move on." This reinforces real exam awareness while still giving students the flexibility to proceed in practice mode.
Step 6 - The Break Screen
Between sections, students encounter the Practice Test Break screen which is a full-screen dark mode interstitial that replicates the official SAT break experience.
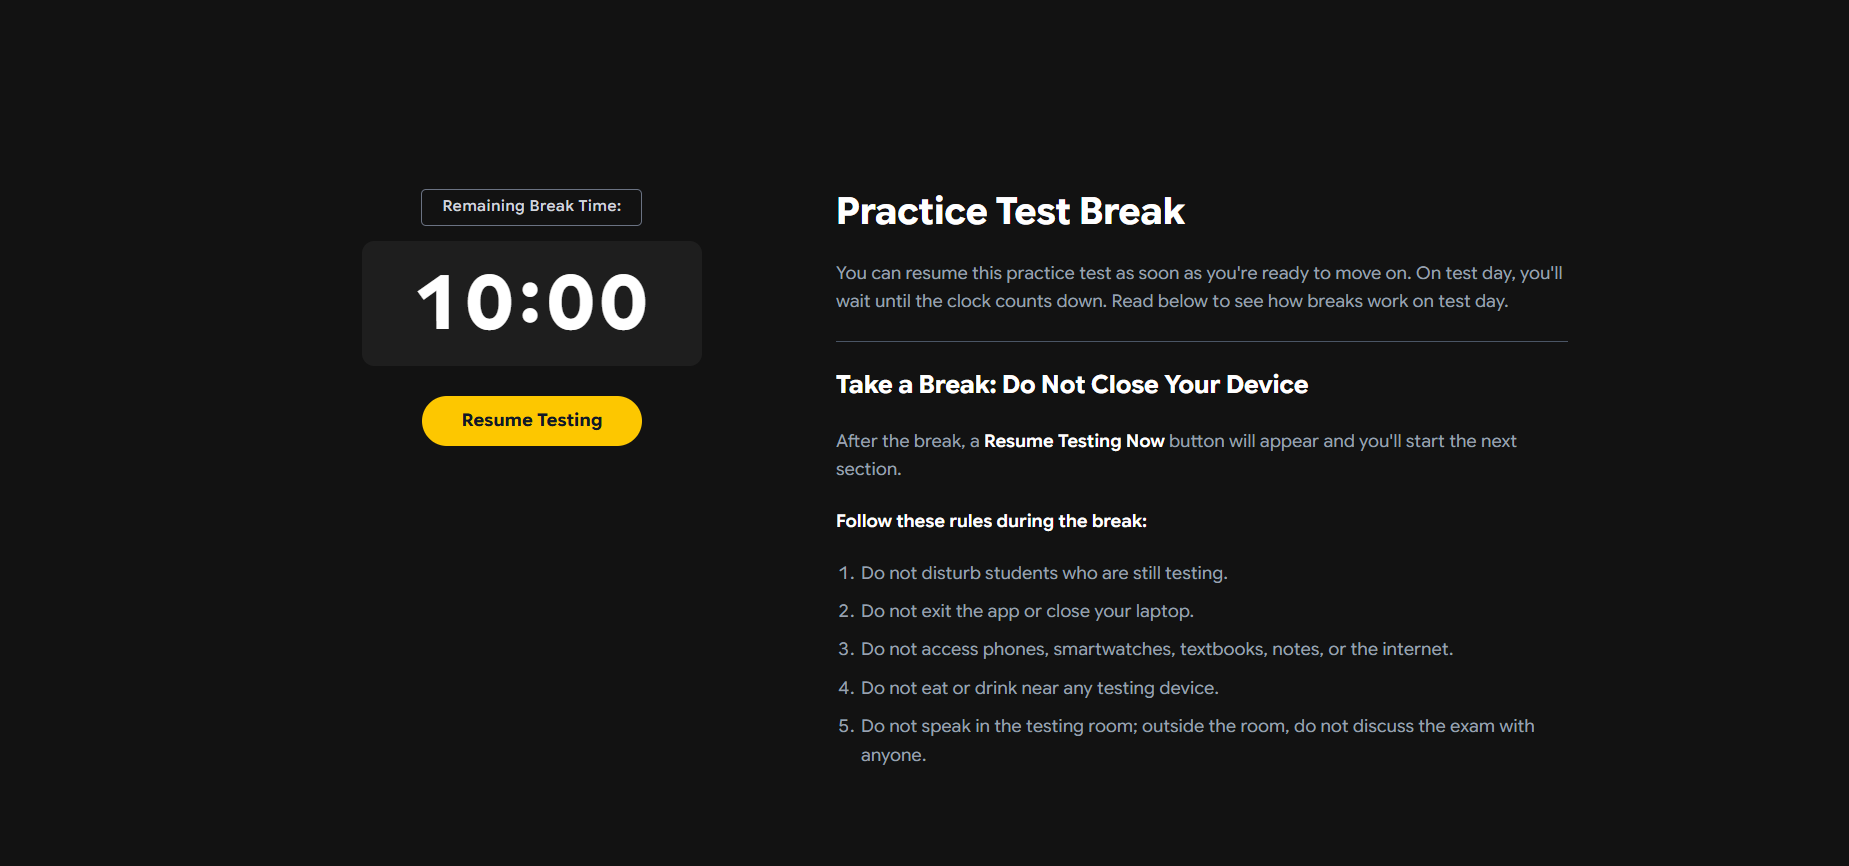
A countdown timer shows the remaining break time (e.g., 10:00). Students can click Resume Testing at any time if they're ready to continue before the break ends. During an actual exam, they would need to wait for the timer to expire.
The screen also displays the official break rules that students should follow — replicating what they'll see on test day:
Do not disturb students who are still testing.
Do not exit the app or close your laptop.
Do not access phones, smartwatches, textbooks, notes, or the internet.
Do not eat or drink near any testing device.
Do not speak in the testing room; outside the room, do not discuss the exam with anyone.
This break screen isn't just a pause, it's a teaching moment that helps students internalise the real exam protocols through every practice session.
Step 7 - Math Section Tools
When the student moves into the Math sections, two additional tools become available in the top-right corner of the header: Reference and Calculator.
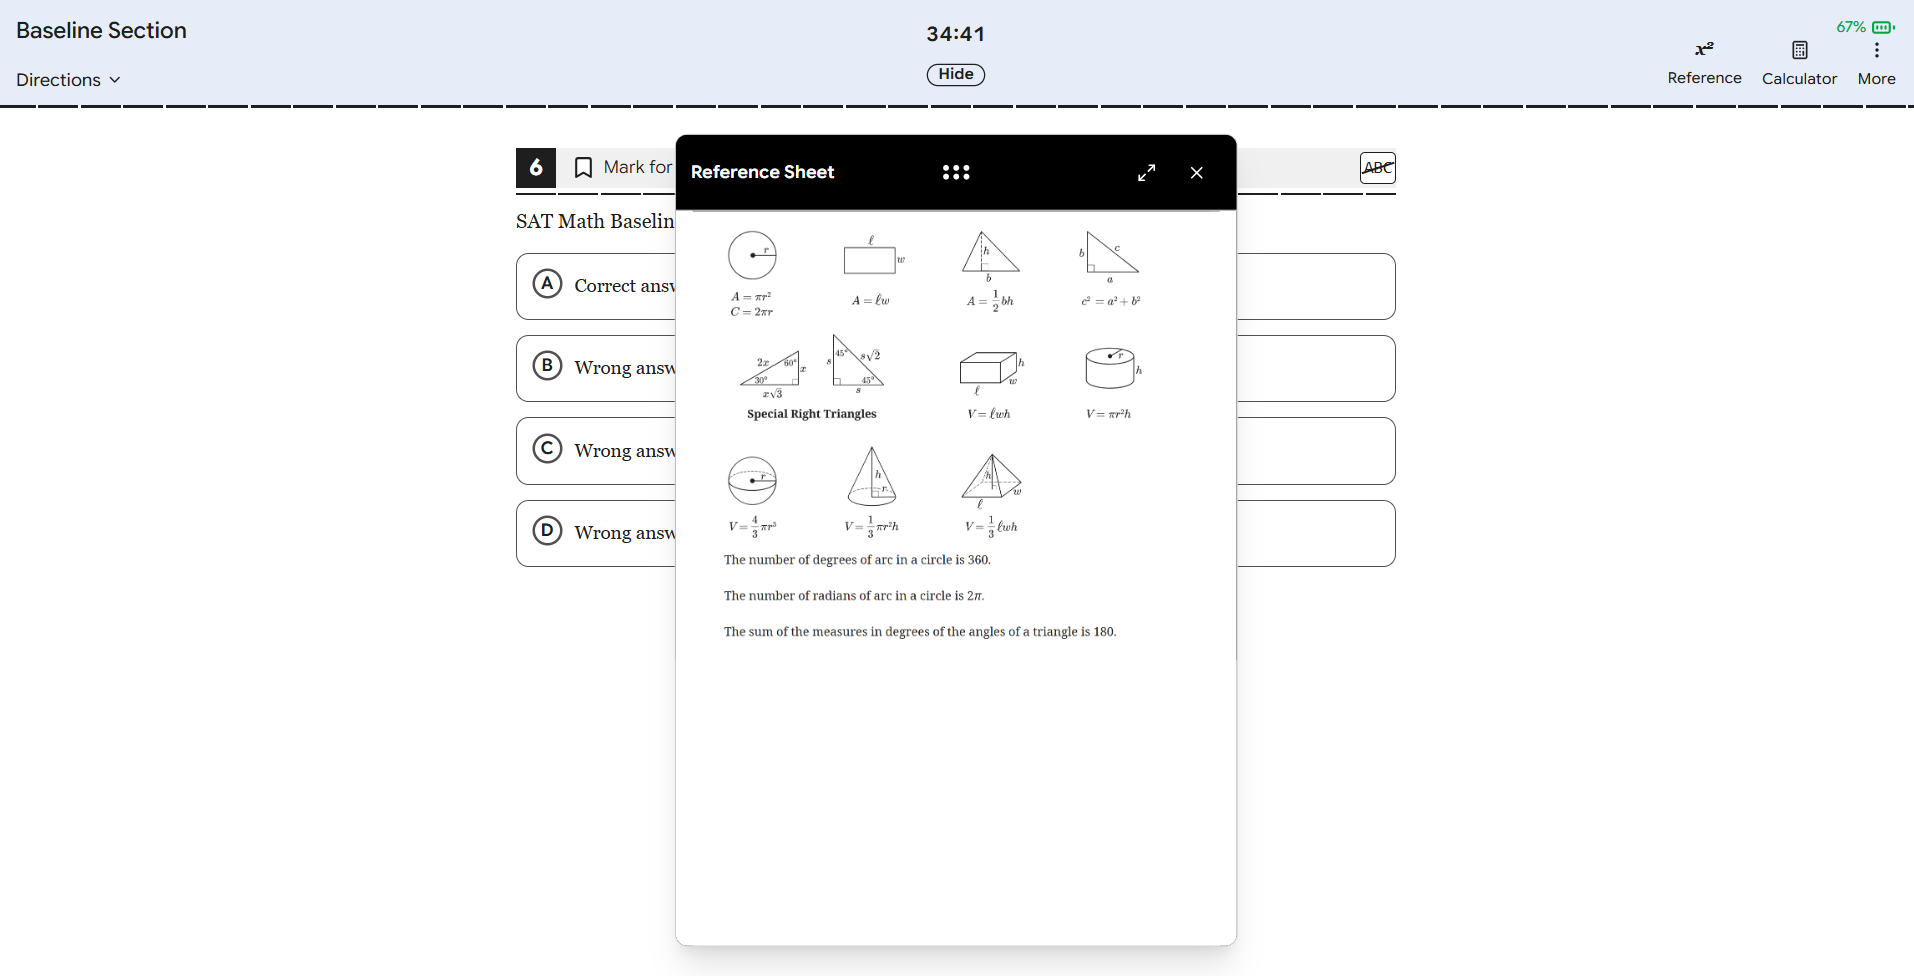
Reference Sheet Clicking Reference opens a floating panel displaying the official SAT Math reference sheet including formulas for area, circumference, volume, and the properties of special right triangles. Students can expand the panel to full screen or drag it around the screen. This is the exact same reference sheet provided on the real digital SAT.
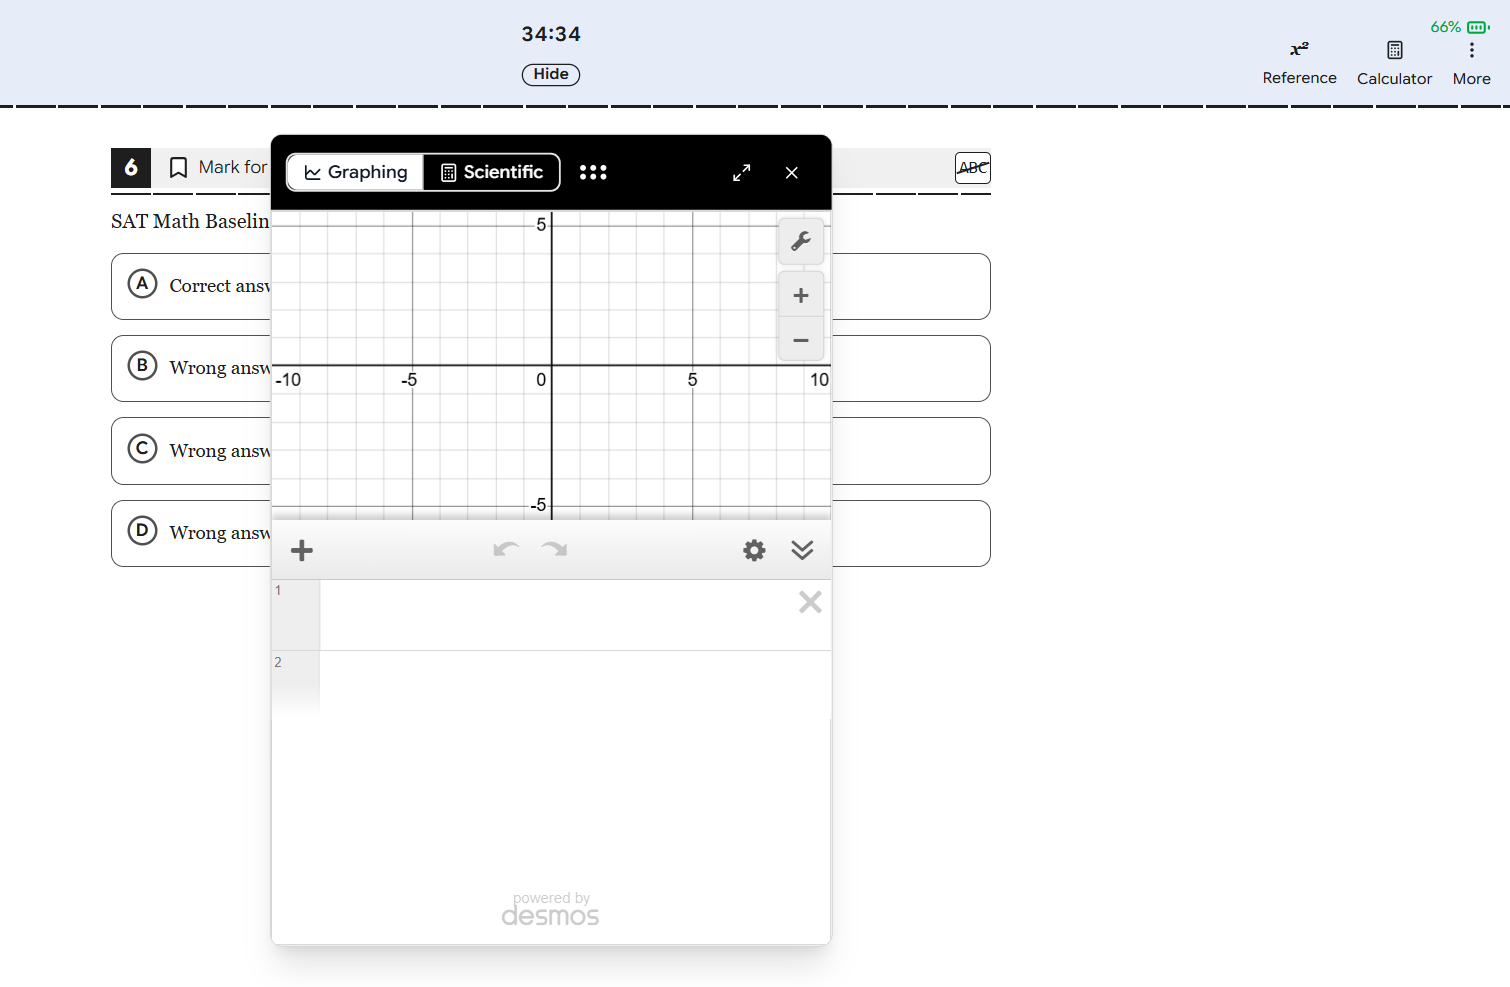
Calculator Clicking Calculator opens a floating in-browser calculator powered by Desmos which is the same calculator integrated into the official digital SAT. Students can switch between:
Graphing - A full Desmos graphing calculator for plotting equations, visualizing functions, and working through complex problems visually.
Scientific — A standard scientific calculator for arithmetic, trigonometry, and algebraic computation.
Both calculators can be resized, expanded, and dragged to any position on the screen so they don't obscure the question being answered.
The Reference Sheet and Calculator are only available during Math sections. Whether they appear is controlled by the section-level configuration settings set by the tutor. If you've configured a section without calculator access, these buttons will not appear for that section.
Adaptive Routing
After the Math Baseline Section, the system evaluates the student's performance and routes them to either the Adaptive Upper or Adaptive Lower section. This mirrors the exact adaptive routing logic of the real digital SAT.
Step 8 - After Submission: The Report
Once the student completes all sections and submits the test, a brief loading screen appears:
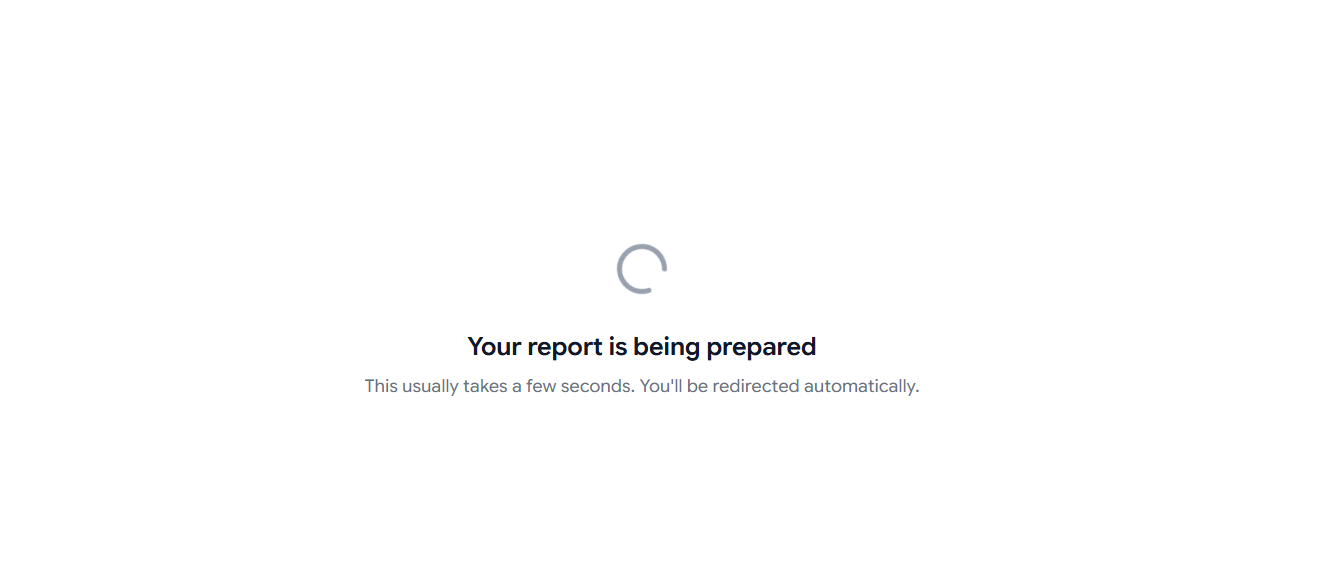
"Your report is being prepared. This usually takes a few seconds. You'll be redirected automatically."
The system processes the student's responses and generates their results report in real time. Within seconds, the student is automatically redirected to their full Test Report.
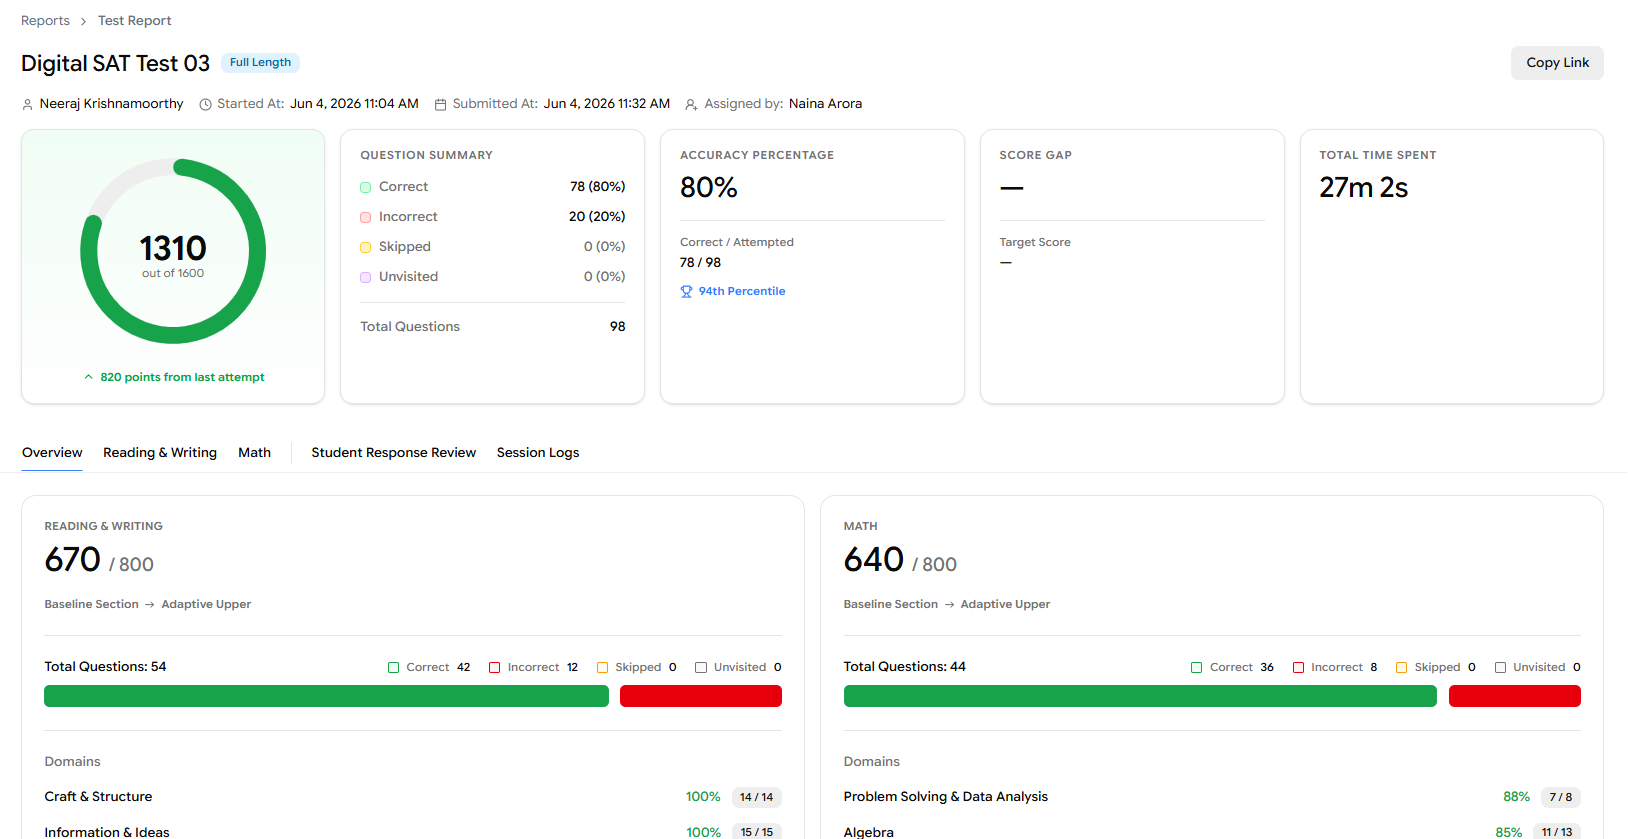
The report is shown because Show Summary was enabled during assignment.
The report also includes tabs for Reading & Writing, Math, Student Response Review, and Session Logs for deeper drill-down into specific questions and behaviours.
Now that students are submitting real tests, the next article covers how Raw Scores are converted into Scaled Scores explaining the scoring methodology behind the numbers students see in their reports.