5.1 Creating a Practice Test
Overview
Practice Tests are one of the most powerful tools in EdisonOS. They allow you to deliver structured, timed, and fully adaptive assessments that mirror real exam conditions whether you're running an official SAT simulation or a focused module-level test.
This guide walks you through the complete process of creating a practice test from scratch: picking a template, filling in test details, assigning question folders, and publishing it for your students.
This article covers only how to create a practice test. Configuration options, settings, and allotments will be covered in the next article.
Step 1 - Navigate to Practice Tests
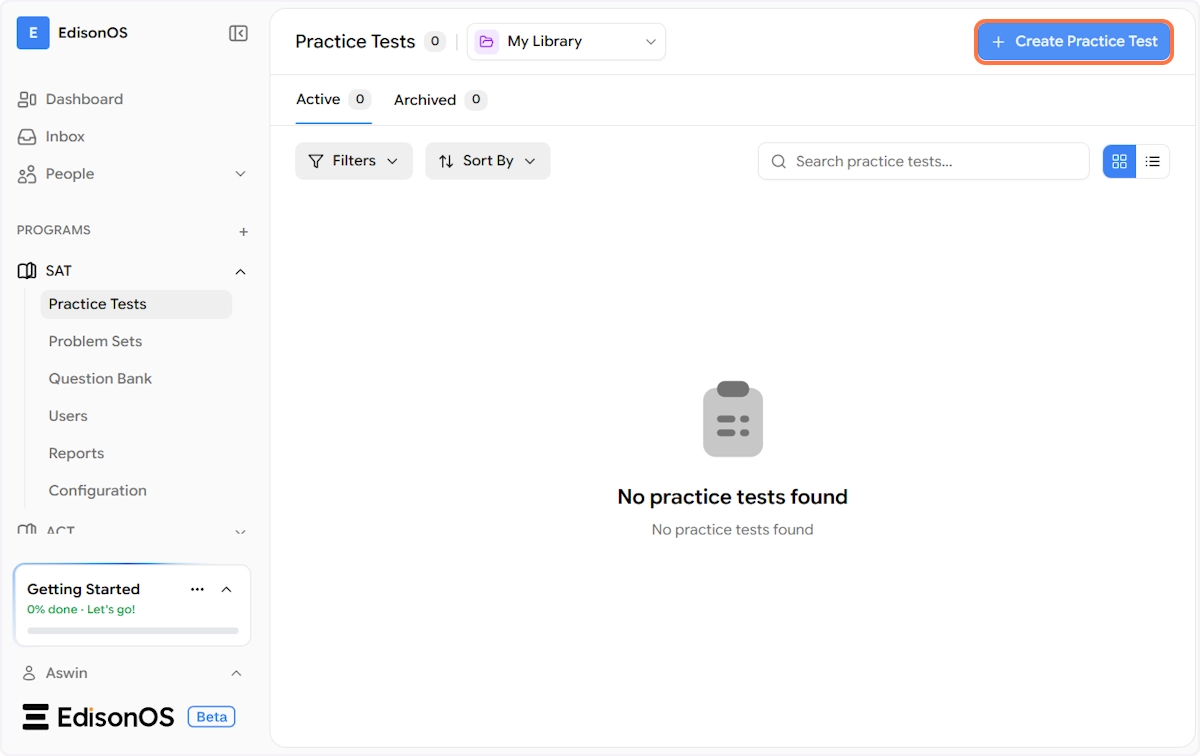
From the left sidebar, go to your program (in this example, SAT) and click on Practice Tests in the sub-menu.
At the top of the page, you'll notice a library switcher dropdown by default, it displays the EdisonOS Library, which contains pre-built practice tests from the platform. To create and manage your own tests, click the dropdown and select My Library. This is where all the practice tests you create will be shown, and you can switch between the two libraries anytime using this dropdown.
To get started, click the + Create Practice Test button in the top-right corner.
Step 2 - Choose a Test Template
Once you click + Create Practice Test, a modal will appear with three template options. Each template is designed for a different use case:

Full-Length Test (Official SAT Format)
This template mirrors the official SAT structure. It comes pre-configured with four sections:
Reading & Writing
Baseline Section - 27 Questions, Linear, 32 mins
Adaptive Section - 27 Questions, Adaptive, 32 mins
Math
Baseline Section - 22 Questions, Linear, 35 mins
Adaptive Section - 22 Questions, Adaptive, 35 mins
Choose this when you want students to experience the real SAT format end to end.
Module Test (Pick a Module)
This template lets you select a specific module either Reading & Writing or Math rather than running the full test. The structure within each module is identical to the Full-Length Test (Baseline + Adaptive Sections).
Use this when you want to focus a session on a single module.
Build from Scratch (Fully Custom)
This gives you a blank canvas to build your own test structure from the ground up to define your own sections, time limits, and question counts without being bound by any preset format.
Use this for diagnostic tests, topic-specific assessments, or any format that doesn't fit the standard SAT structure.
In this example, we are selecting the Full-Length Test template.
Click Select Template under the Full-Length Test card to proceed.
Step 3 - Fill in Test Details
After selecting your template, a Test Details modal will appear. This is where you give your test an identity.
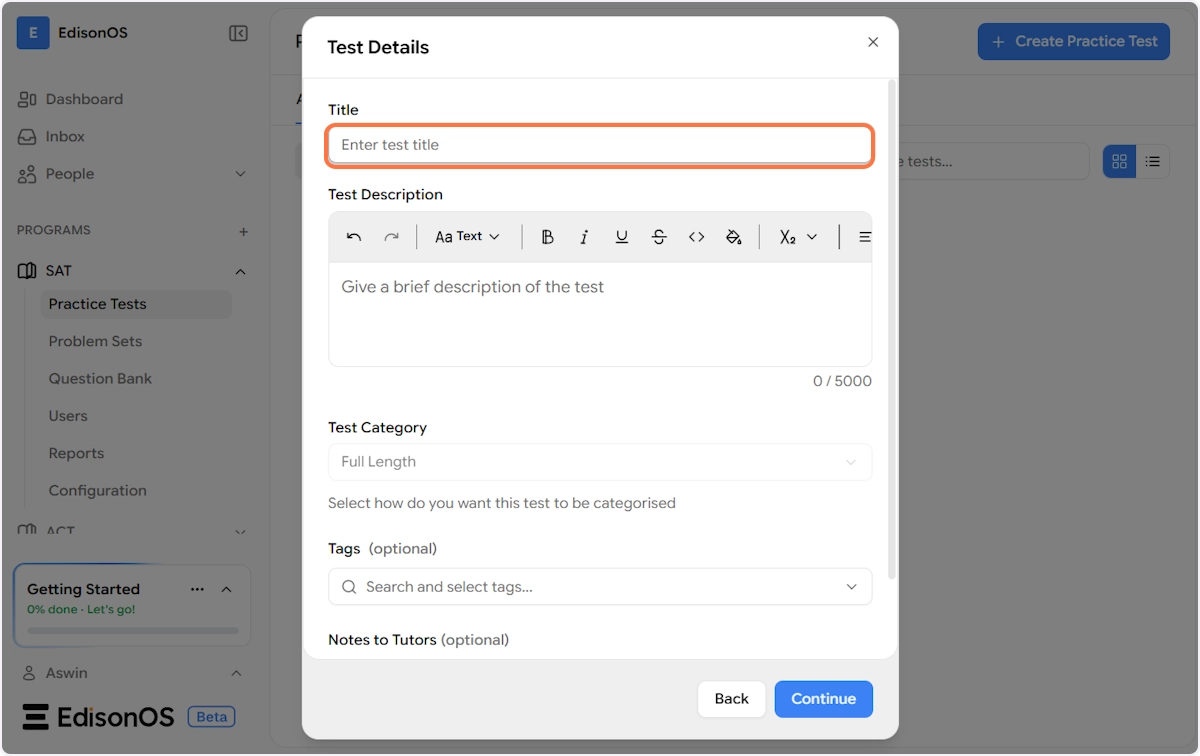
Here's what each field means:
Title (required) Give your test a clear, descriptive name. This is what you and your students will see in the test list. For example: My SAT - 2
Test Description Use the rich text editor to add a description that tells students what to expect. This appears on the test overview page.
Example: "This test helps you experience what the real SAT is like and allows you to identify your strengths and the areas where you need improvement."
Test Category This is auto-set to Full Length based on the template you chose. It controls how the test is categorised in your library and reports.
Tags (optional) Add tags to make the test easier to search and filter later.
Notes to Tutors (optional) This is a private field visible only to tutors and admins not students. Use it to pass along context or instructions.
Example: "Use it for new students on their first week"
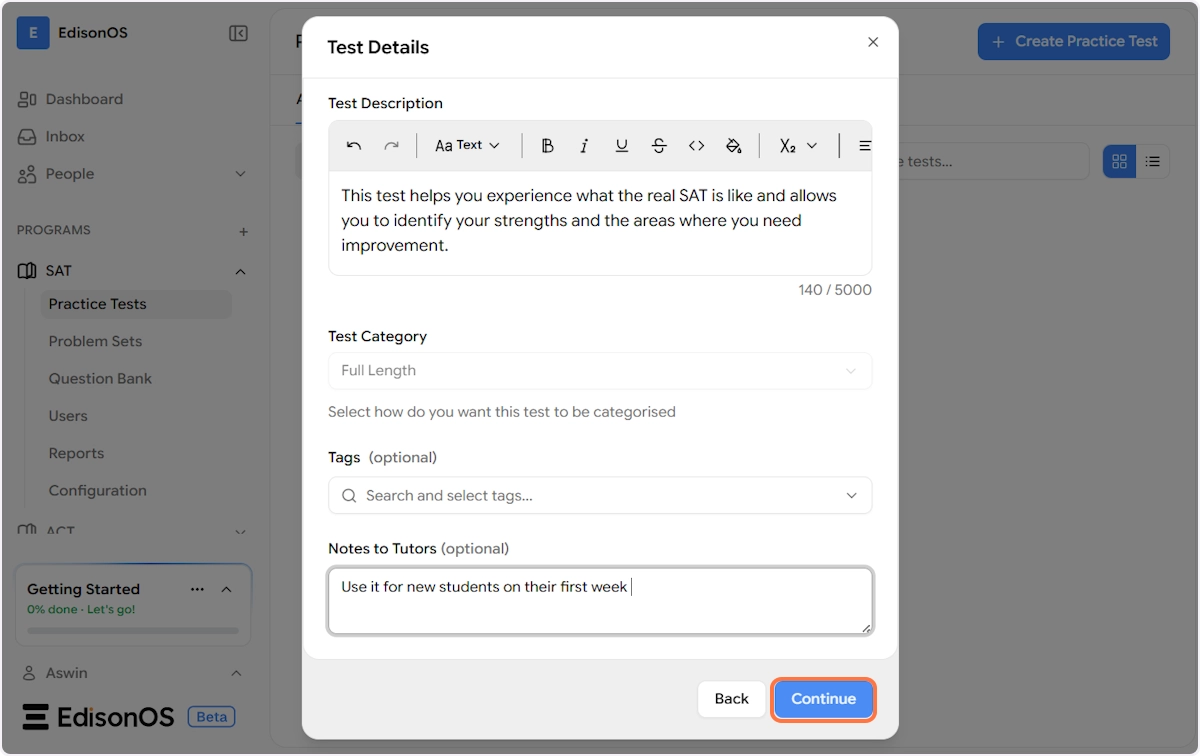
Once all the details are filled in, click Continue to move to the builder.
Step 4 - Choose Your Question Folders
This is the core of the test-building experience. The builder displays the full section structure of your Full-Length Test, and your job is to assign a question folder to each section.
The test is divided into two subjects:
Reading & Writing
Baseline Section - This is the first section students take. It determines their performance level and routes them to the appropriate Adaptive Section. It requires 27 questions.
If a folder contains more questions than the section requires, only the first N questions from the folder will be selected automatically.
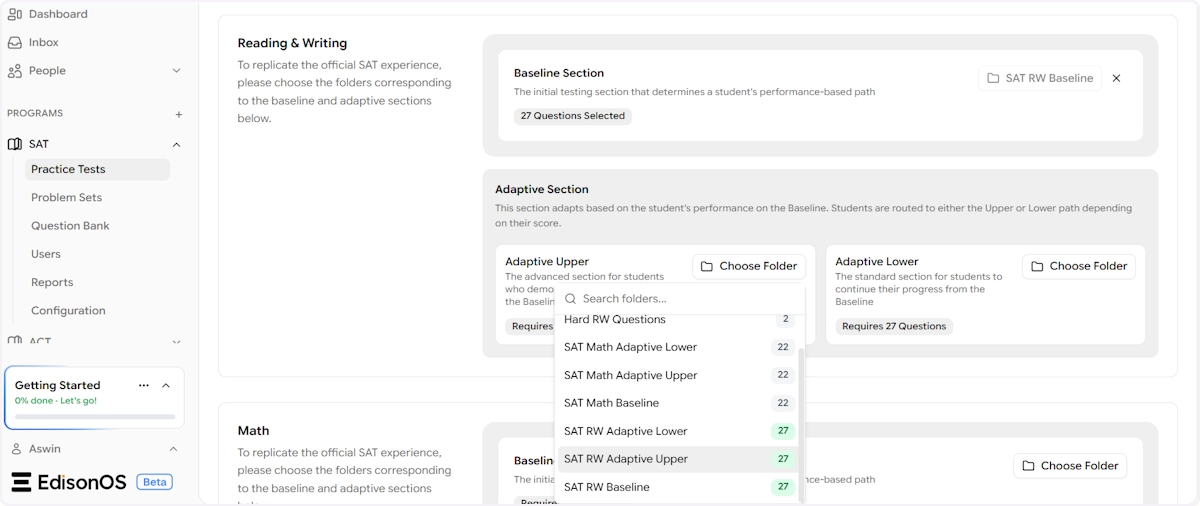
Click Choose Folder next to the Baseline Section to open a folder dropdown. You can search through your available folders or scroll the list.
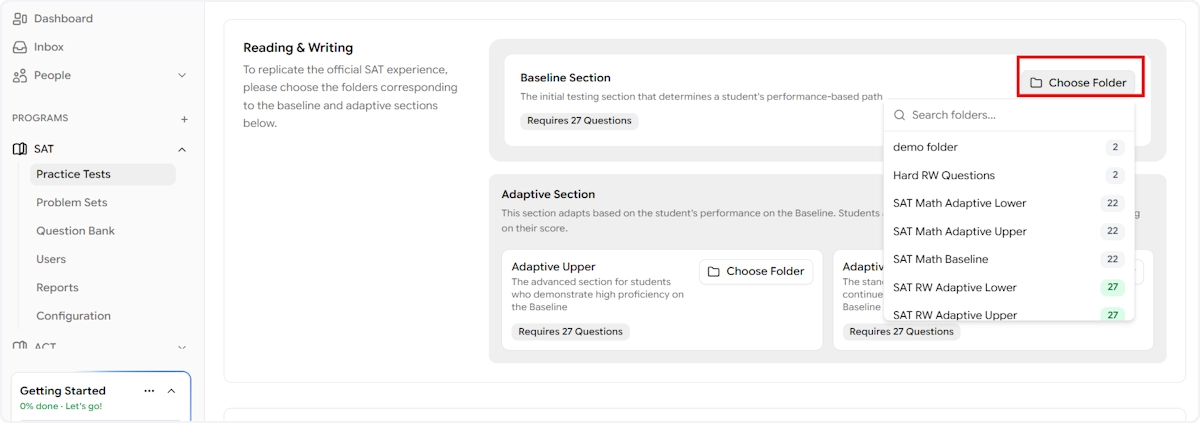
You can use either your own content (folders from My Library) or EdisonOS content (pre-built folders from the EdisonOS Library) for any section - Baseline, Adaptive Upper, or Adaptive Lower. Mix and match based on what best fits your students.
Once you select a folder, it will appear attached to the section with a label showing the folder name and a confirmation that 27 Questions are Selected.
Adaptive Section Based on their Baseline score, students are routed to one of two paths:
Adaptive Upper - For students who performed well on the Baseline. Requires 27 questions from a higher-difficulty folder (e.g., SAT RW Adaptive Upper).
Adaptive Lower - For students who need more foundational practice. Requires 27 questions from a lower-difficulty folder (e.g., SAT RW Adaptive Lower).
Click Choose Folder for each path and select the appropriate folder from the dropdown.
Math
Scroll down to the Math section. The structure is identical as Reading & Writing which has a Baseline Section and an Adaptive Section (Upper and Lower paths) but for Math content.
Baseline Section - Requires 22 questions. Select your Math Baseline folder (e.g., SAT Math Baseline).
Adaptive Upper - Requires 22 questions. Select your harder Math folder (e.g., SAT Math Adaptive Upper).
Adaptive Lower - Requires 22 questions. Select your standard Math folder (e.g., SAT Math Adaptive Lower).

Once all six sections have their folders assigned and the question counts are satisfied, the Review & Publish button in the top-right corner will become active.
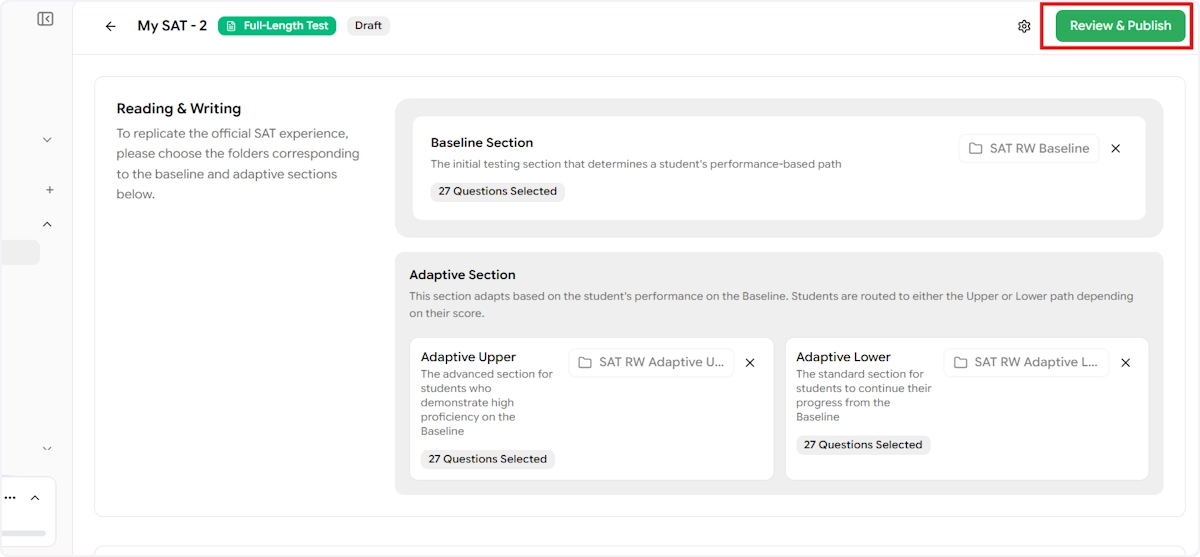
Step 5 - Review and Publish
The Review Page
Click Review & Publish to land on the test's Overview page. Here you can do a final check before making the test available to students.
The Overview page displays:
Field | Value |
|---|---|
Total Sections | 4 |
Total Questions | 98 |
Total Duration | 2h 14 mins |
Scoring | — |
You'll also see the test description you entered earlier and any notes you left for tutors.
Publishing the Test
When you're satisfied with the setup, click Review & Publish again. A confirmation modal will appear titled "Ready to Publish?"

This modal clearly outlines what publishing means:
Students will be able to access and take the test
All sections, questions, and scoring rules will be applied
Any further changes will require editing or creating a new test
Click Publish Practice Test to confirm.
Success 🎉
Your test is now live. You'll see a success toast at the bottom of the screen confirming "Practice test published successfully", and the test status will update from Draft to Published.

The test is now available to your students and will appear in the Practice Tests list under SAT → → Practice Tests → My Library.
Now that your practice test is created, you can explore Settings to configure time controls, scoring rules, and access permissions, and use Allotments to assign the test to specific students or groups. These topics are covered in the next article.