
4.5 AI Question Extractor
What It Will Do
The AI Question Extractor will allow you to upload a document such as a PDF worksheet, printed test, or external question set, images and have EdisonOS automatically extract and convert those questions into structured entries within your Question Bank.
This significantly reduces the time spent on manual question entry, especially for educators who have large existing libraries of offline or third-party content.
What you will accomplish
Upload a PDF or image containing your test questions
Configure the extraction and choose where the questions are saved
Let the AI identify questions, options, correct answers, and explanations
Review each question side-by-side with the original document
Approve the questions and passages to add them to your question library
1. Navigate to the AI Question Extractor
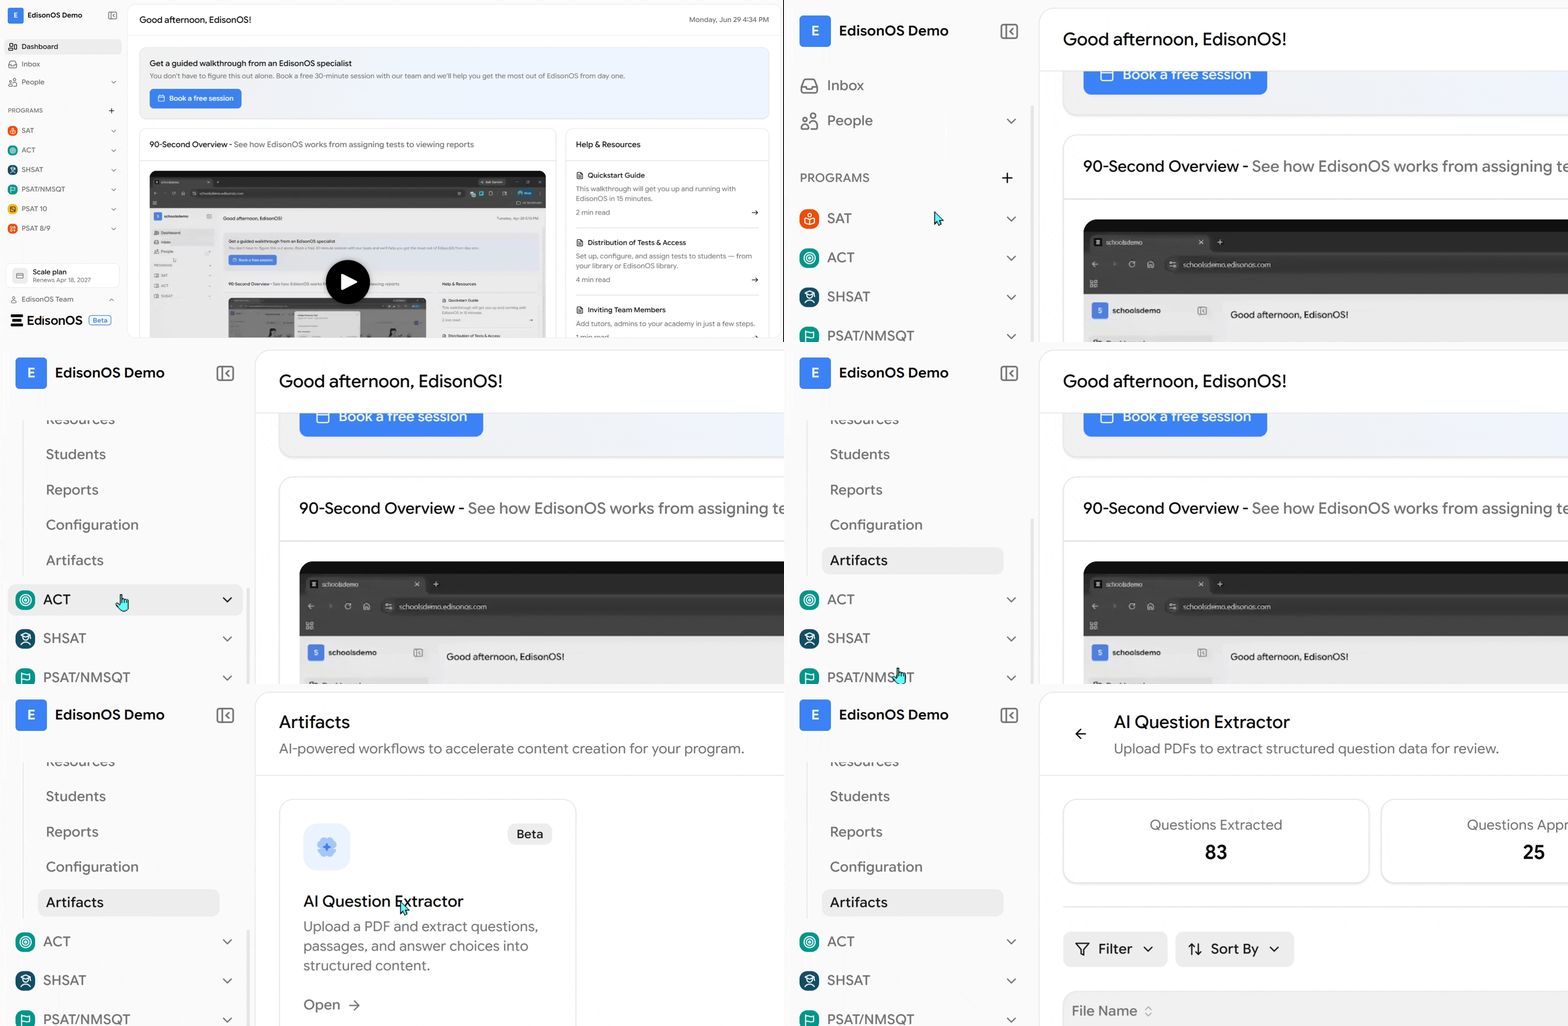
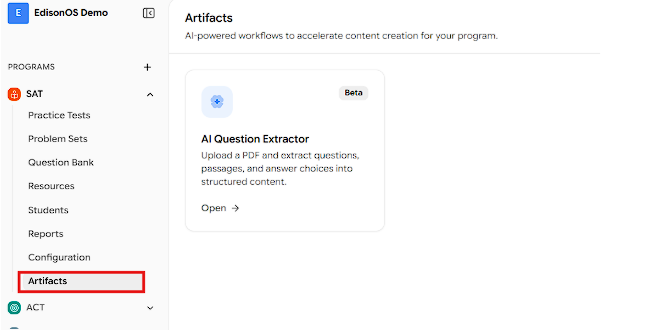
In the left sidebar, select your Program (for example, SAT or ACT, etc)
Click Artifacts
The AI Question Extractor page opens
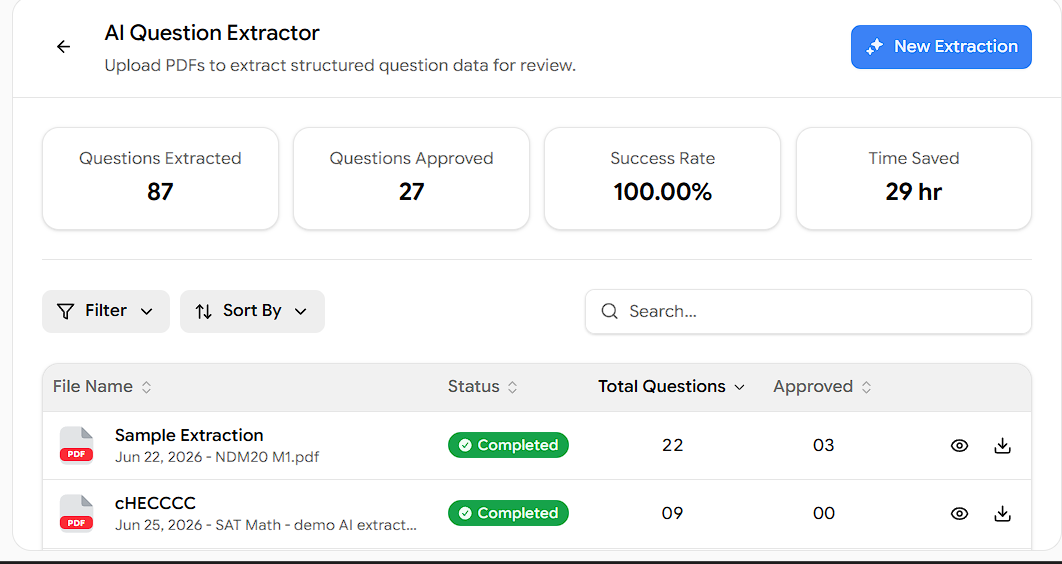
At the top of the page, you will see a quick summary of your activity: Questions Extracted, Questions Approved, Success Rate, and Time Saved. Below that is a list of all your past extractions, with their Status, Total Questions, and Approved count, along with Filter, Sort By, and Search options to quickly find any batch.
2. Start a new extraction:
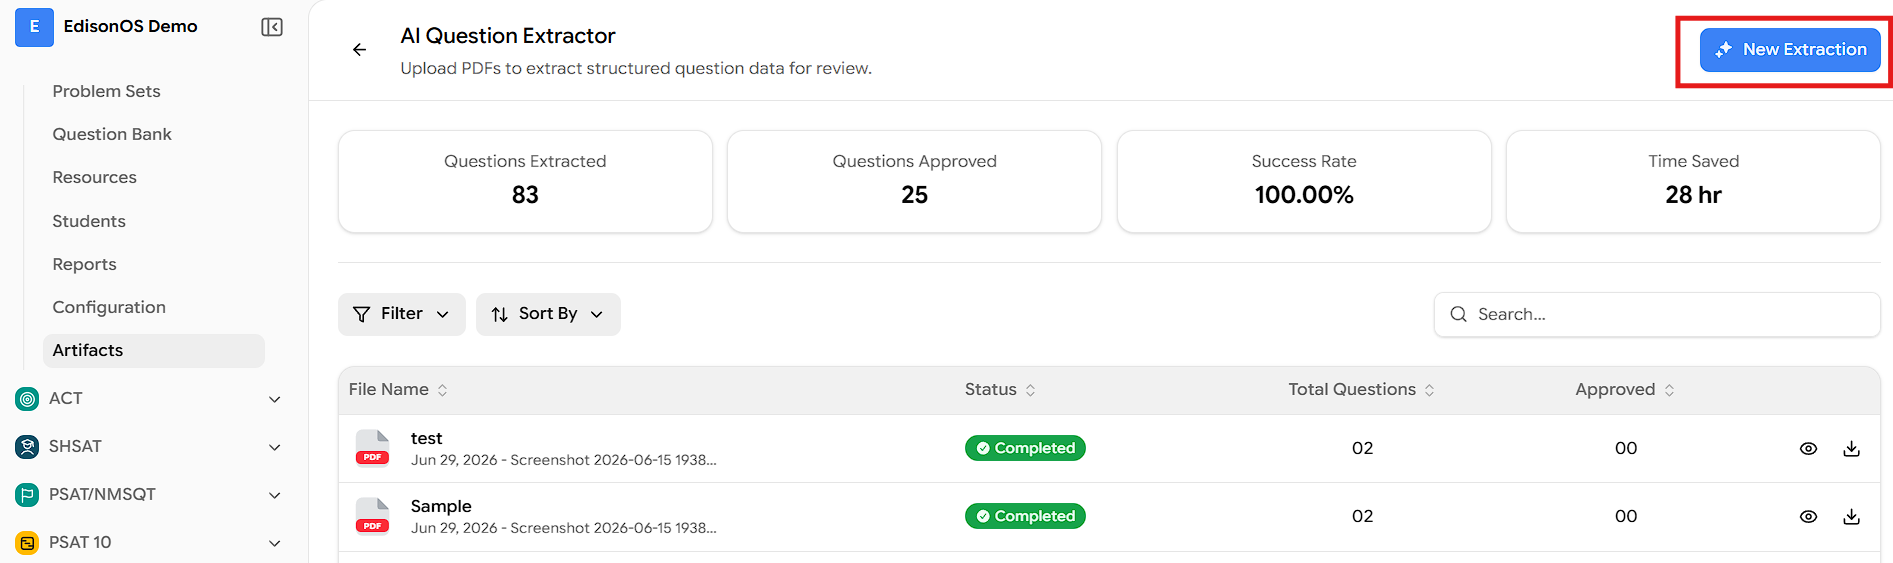
To begin, click the New Extraction button in the top-right corner of the page. On the New Extraction page, find the Upload your file section.
Steps to upload:
Drag and drop your file into the upload area, or click Browse Files to select it from your device
Alternatively, click choose from your resources to use a file you have already added to EdisonOS - It re-runs extraction against a PDF you've uploaded before.
Supported formats and limits:
Supported file types: PDF, JPG, and PNG
For PDFs, files under 50MB and 150 pages are recommended for best performance
Once your file is added, it appears with its name, size, and page count. You can click the ✕ next to a file or Remove all to clear your selection and start over.
3. Set up the configuration
After uploading, the Setup Configuration section appears. Fill in the details for this extraction batch.
Extraction Name (required): Give the batch a name so you can recognize it in the extractor list.
Need AI-Generated Explanations? (Coming Soon): This option will provide AI-generated explanations for each question. It is not yet available.
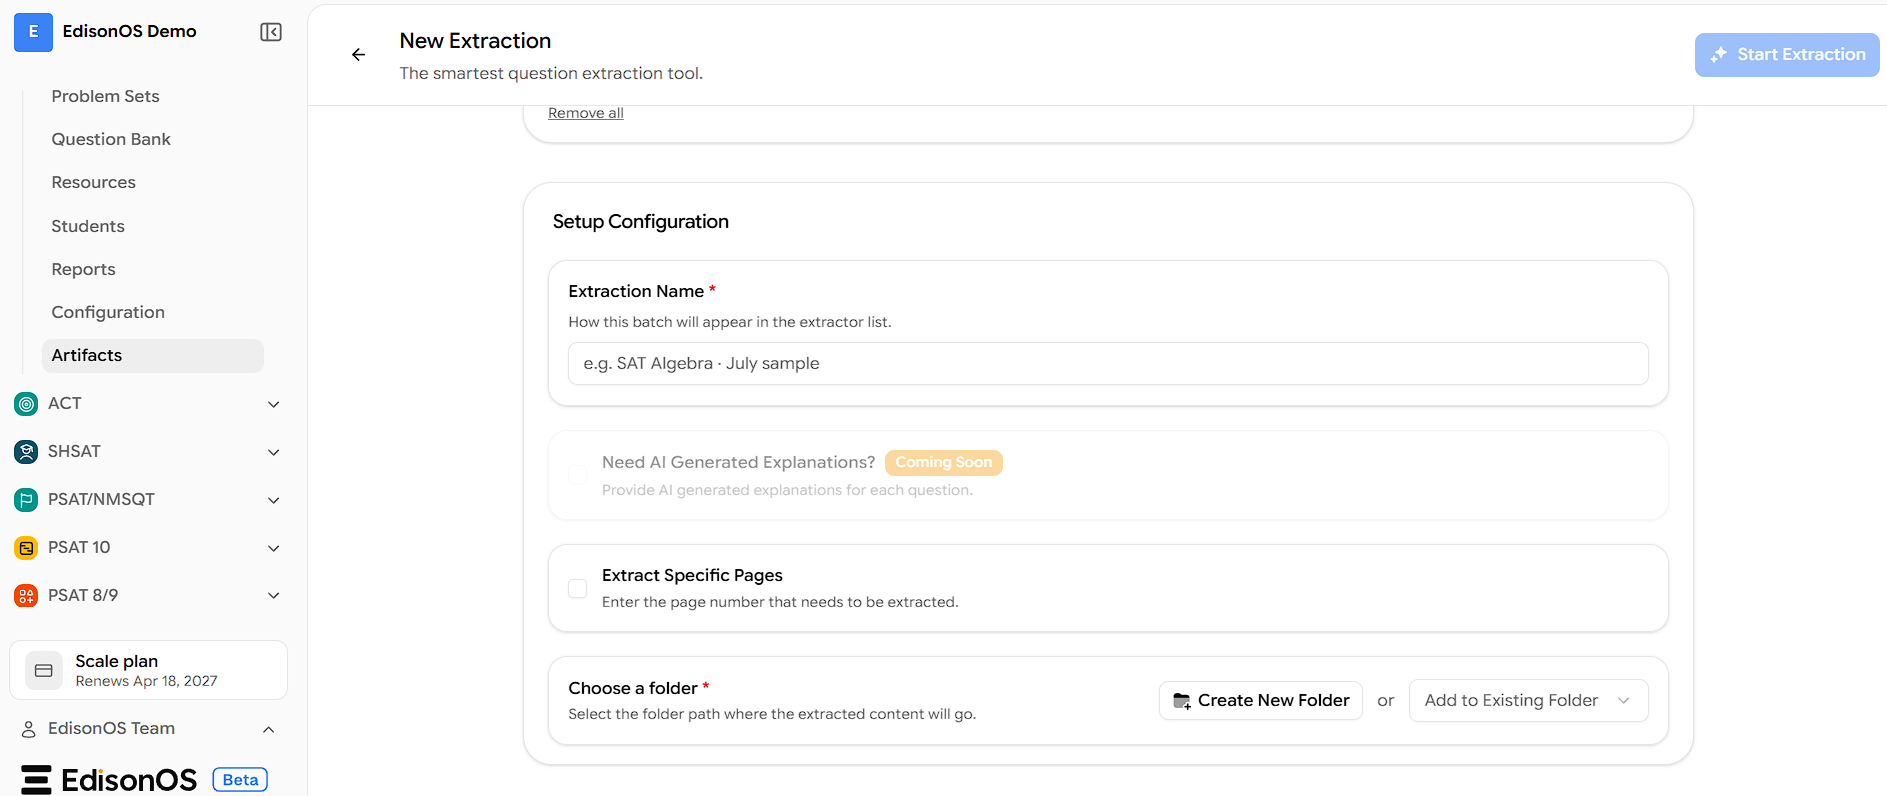
Extract Specific Pages (optional): Tick this box if you only want questions from certain pages, then enter the page numbers to extract.
Choose a folder (required): Select the folder in your Question Bank where the extracted questions will be saved. Click Create New Folder to make a new one, or use the Add to Existing Folder dropdown to choose a folder that already exists in your Question Bank.
A clear Extraction Name and folder make it much easier to locate your questions later, especially as your library grows.
4. Start the extraction
Once the name and folder are set, the Start Extraction button in the top-right corner becomes active. Click it to begin.
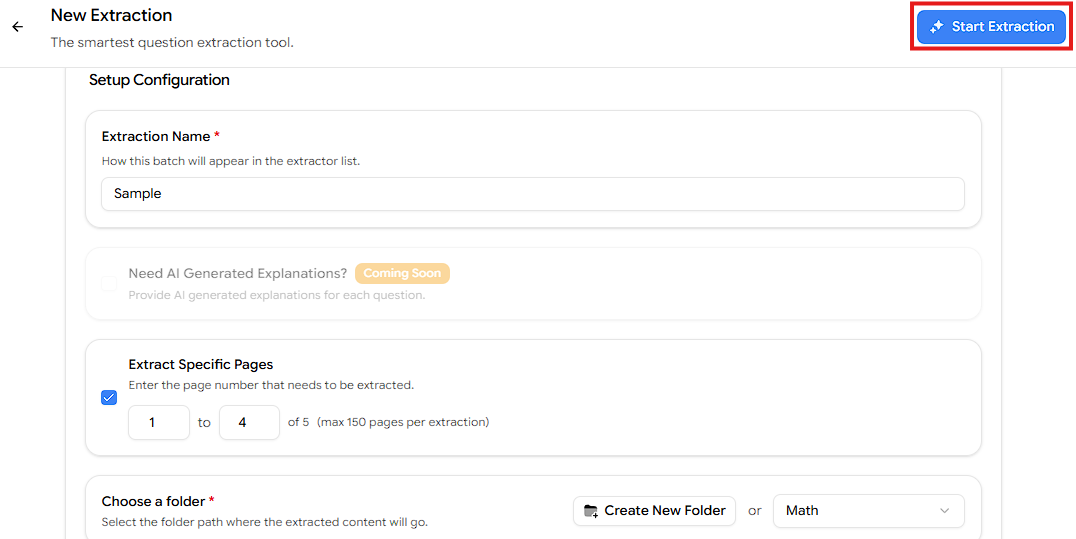
Your new batch appears in the extractor list with a Processing status while the AI reads your document.
When it is done, the status changes to Completed, and the Total Questions column shows how many questions were found.
Extraction time depends on the size and complexity of your file. You can leave the page and come back, the batch will keep processing.
5. Review and approve questions
Before the questions are ready to use, review each one for accuracy. On a completed batch, click the Eye (Preview) icon to open the Question Preview.
In the Question Preview, you can:
Navigate questions using Previous, Next, or the question dropdown
Compare with the original to open a side-by-side view of the uploaded PDF next to the extracted question
Edit the extracted content using the pencil icon
Approve each question and passage (RW) once it looks correct
When you click Compare with Original, the uploaded PDF appears on the left and the extracted question on the right, so you can confirm every detail matches.
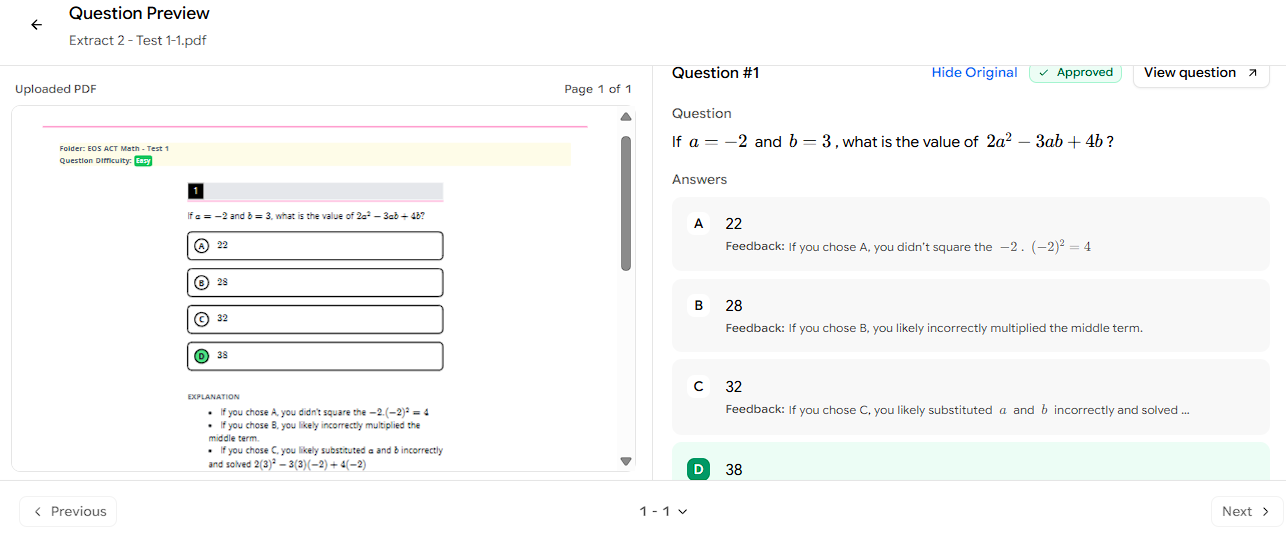
Scroll down to check the extracted Answers and Solutions. The correct answer is highlighted in green.
Once a question is verified, click Approve. Use Hide Original to collapse the comparison view at any time.
Approving questions adds them to your chosen folder in the question library, ready to be used in tests and problem sets. The Approved count on the main page updates as you go.
6. Enhanced Artifact Feedback and Tags
The Batch Review screen in the AI Extractor has been updated to improve readability and usability.
Navigate to: Programs → Select a Program → Artifacts → AI Extractor → Batch Review
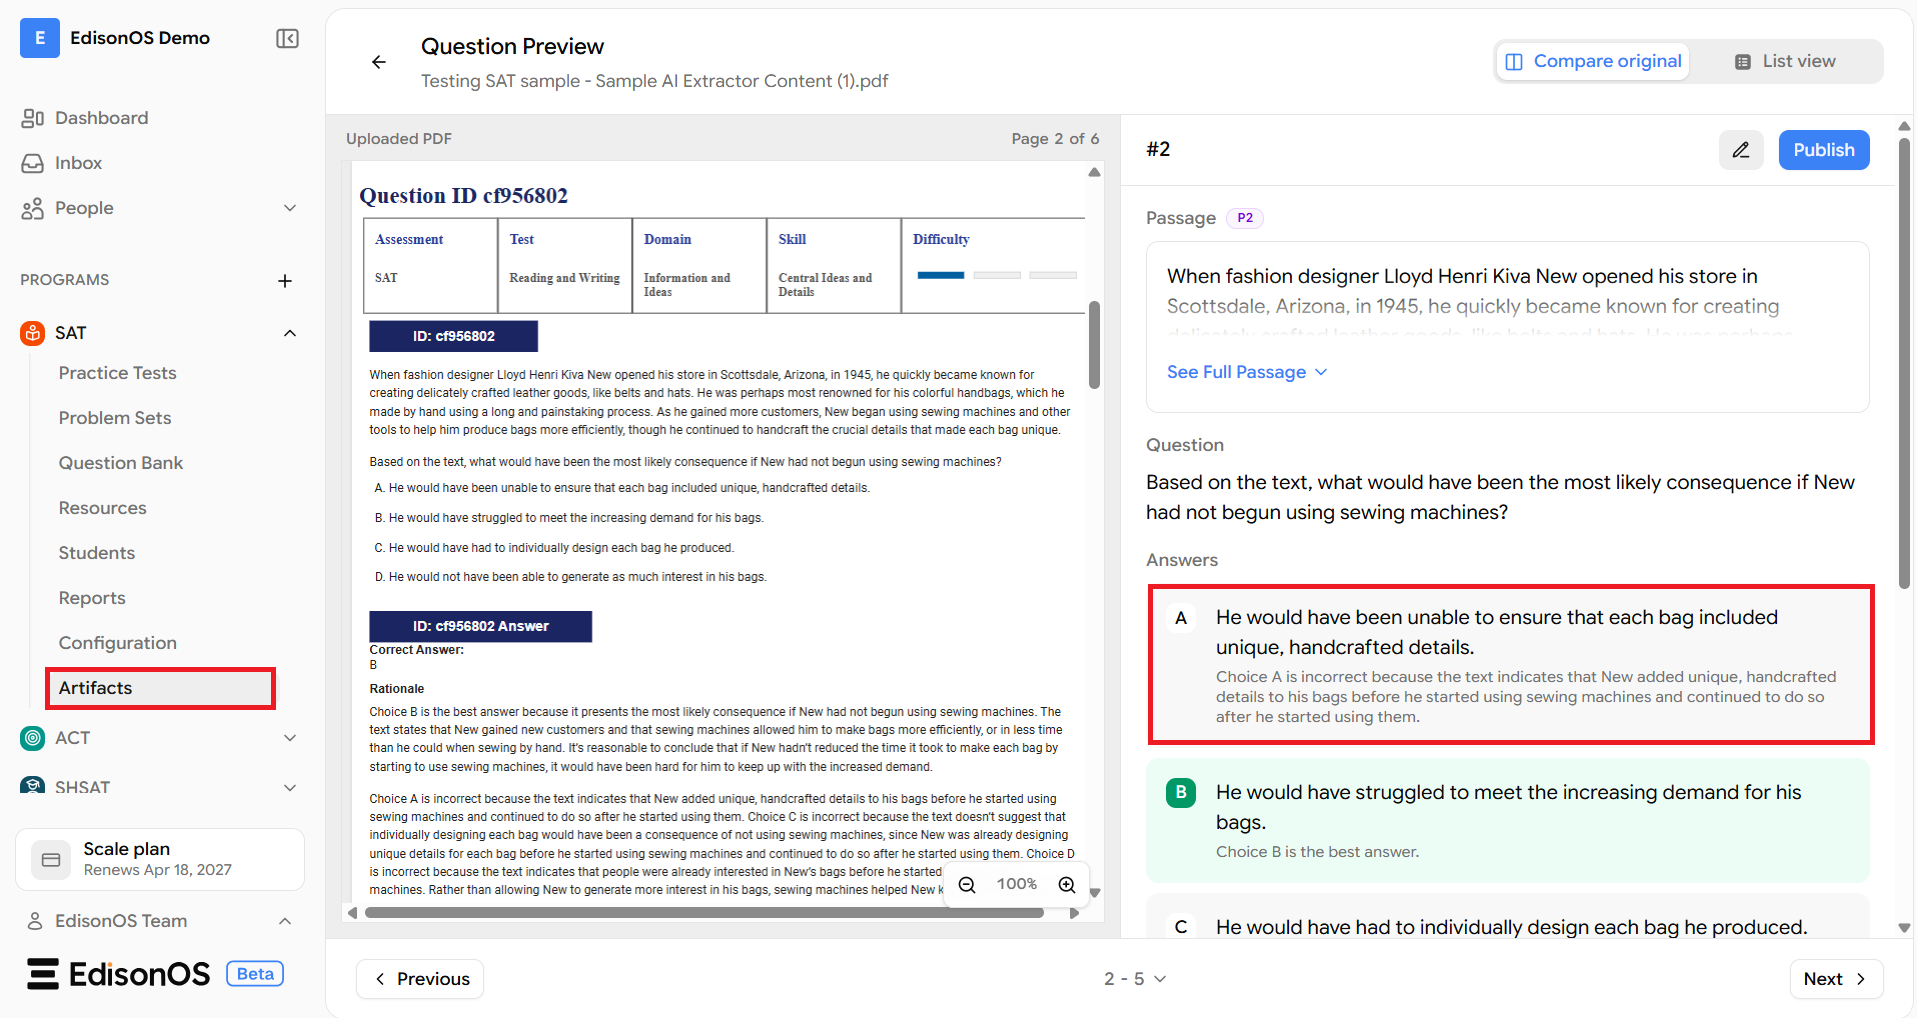
Updates include:
Feedback is now displayed in full for easier review.
The Published tag has been visually enhanced for a cleaner interface.